Main Nutritious Intent Website

Tuesday, May 26, 2015

Summertime With Kiddos: Cooking 101


Are you enrolling your kiddos in Cooking 101 this summer?  Before you frantically start googling this summer school course, let me answer a few FAQ:

  1. Yes, you are the instructor. 
  2. Yes, it is held in your kitchen.  
  3. Yes, it involves cooking (i.e. frustration, mess and mistakes mixed in with a lot of tasty results, fun and some serious life-skills.)

Why bother?


Studies show that children who learn to cook tend to make better food choices.  They end up more open to eating fruits and vegetables and that leads to better lifelong health.  What does my personal experience tell me?  Kids who cook it are more willing to eat it.  They have a greater appreciation for food and the work that goes into preparing it and feel the satisfaction in feeding others real, tasty food.  But there's another reason I teach my kids how to cook early on: Grandkids.  Yep.  My theory is that if they have some good culinary skills, that may just help them snag me a wonderful son or daughter-in-law and later on down the road my grandkids will grow up in a healthful environment where cooking is the rule and eating out the exception (instead of the reverse).  Yes, I want my kids to have the skills to survive the real world on their own, but in reality, I'd prefer that they use those skills to build their own future happy, healthy homes and families.

How? 

Start simple.  Make one recipe a week with your child.  Maybe it is as simple as having them help wash the celery for ants on a log.  Maybe it's helping them choose the fruits for a fruit salad.  Later on you might branch out and make a batch of homemade granola together or blended-fruit popsicles.  Baking day is always a hit at my house in the summer.  We make a batch of bread dough together and then everyone gets a lump of dough to turn into whatever they want.  Sometimes it becomes a pizza loaf, other times it becomes a cinnamon-swirl-chocolate-chip loaf, and sometimes it becomes gooey caramel rolls.
This time, it was hot cocoa powder-swirl bread.

Involve them in the menu planning, shopping and preparation.  Once they start getting experience in the kitchen and are old enough, let them make dinner.  This is where a lot of the frustration may set in, but that is ok, keep persevering.
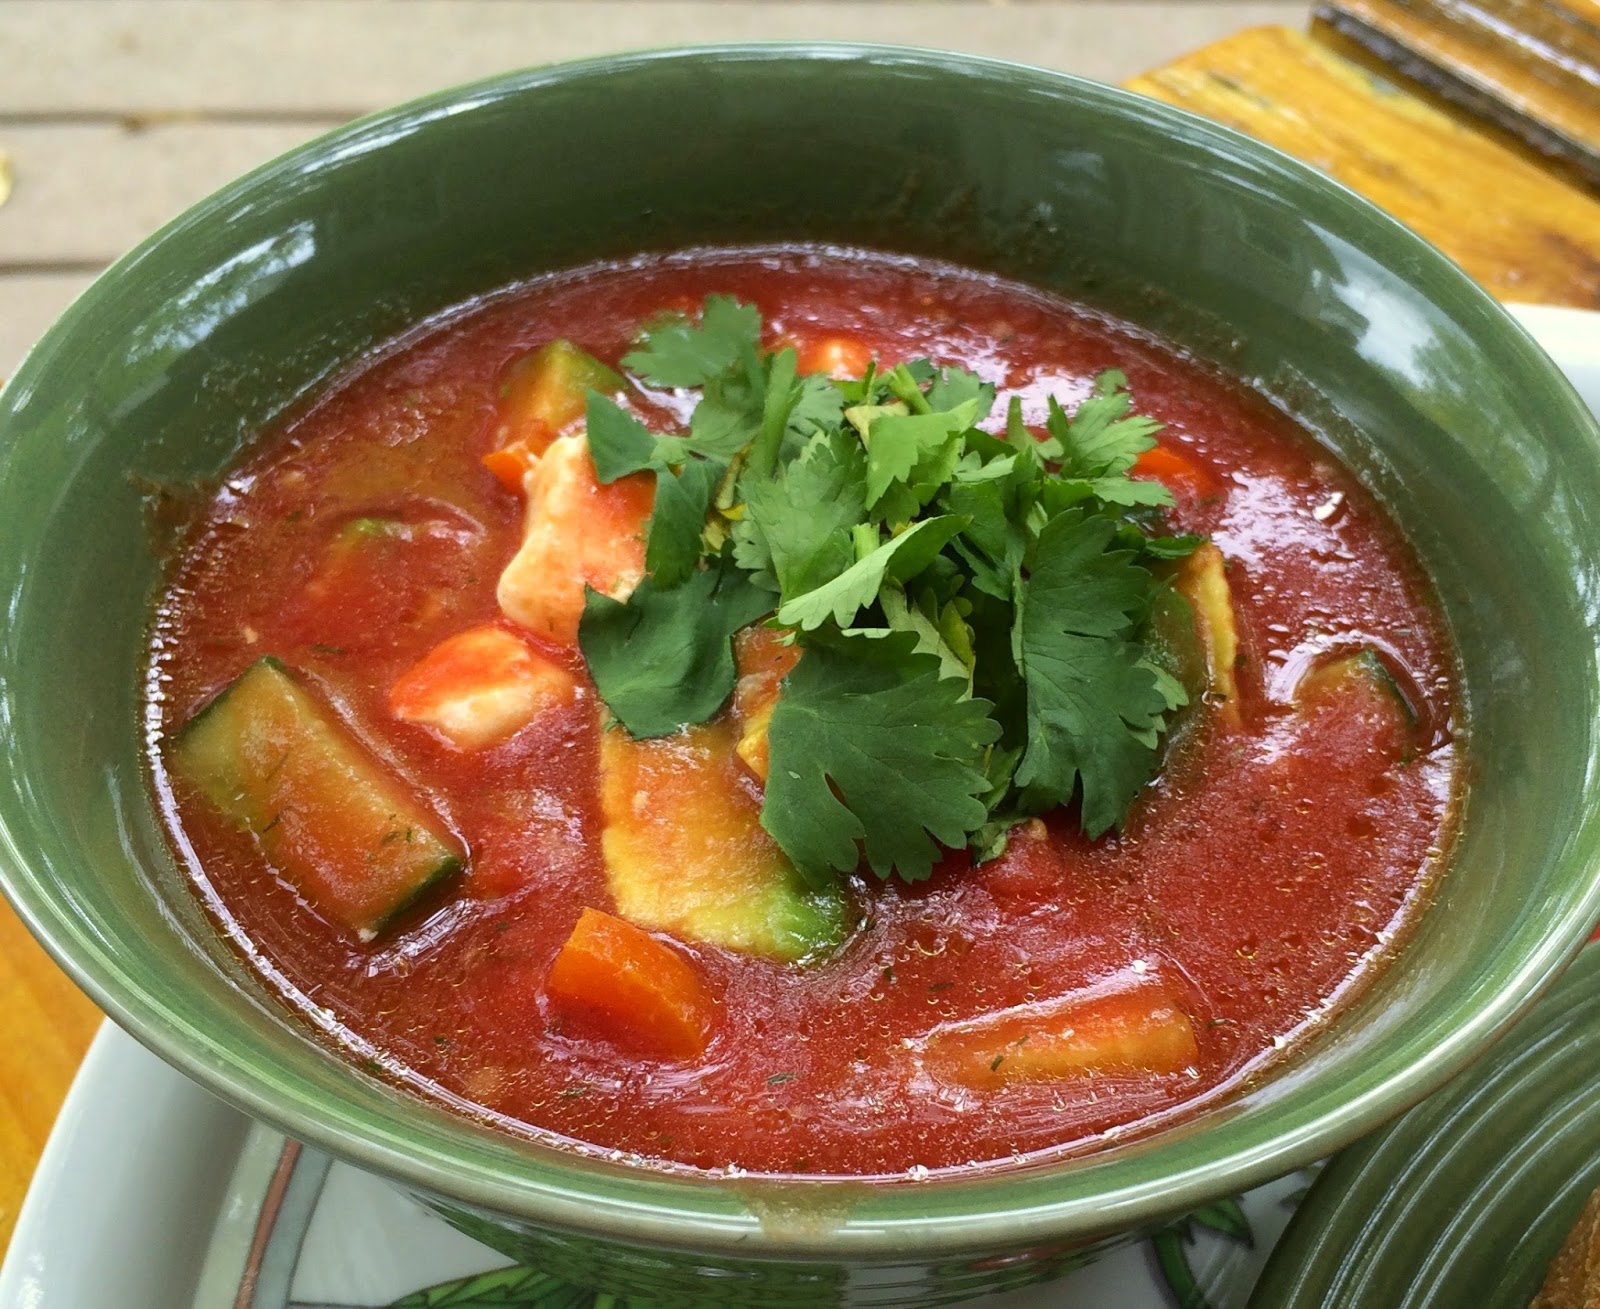
Use books as a springboard to cooking.  Stone Soup is a great way to get kids to make soup for dinner.  Maybe with older kids, a trip to a secondhand bookstore to browse cookbooks might spark their culinary creativity.  And yes, there's obviously a mountain of online resources as well (but sometimes a tangible cookbook fits the bill better than an online tutorial).

If you can read, you can cook and SHOULD cook.  If you are a parent, or guardian, or mentor, you can and SHOULD teach your kids to cook as well.  Few life skills will serve them and those around them as effectively for the rest of their life.  

So grab some aprons, take a deep breath and dive in to your own personal Cooking 101 course.  Oh, and keep that broom handy!

Wednesday, May 20, 2015

Sprouting: Easiest & Tastiest Use of a Quart Jar

Sprouts always seem to get mixed publicity.  On one hand, they are tasty, nutritious and an excellent culinary addition to sandwiches, salads and more.  On the other hand, they are notorious for causing food-borne illness such as salmonella, listeria and other pathogens.  In fact, due to this risk, many food chains have removed them from their menu offerings.  There is a way to enjoy these low-calorie, nutrient rich sandwich toppers without risking your health: sprout at home! Sprouting at home puts you in the drivers seat so you can make sure nothing else contaminates the sprouts on your salad. With very little investment of either money or time, you can be enjoying sprouts with no food safety worries.  It only takes about 5-6 days for most sprouts from start to sandwich.  

To start sprouting, here's what you need and how to do it:


  1. A wide mouth quart jar with a screw on ring, cheesecloth, and sprouting seeds.  You want to use seeds specific for sprouting and not just any seeds from your garden store.  The reason is that seeds designed for planting may be coated with chemicals designed to improve germination that you don't want on your sandwich.  Radish sprouts are my favorite, but I also enjoy broccoli sprouts, alfalfa and I'm dying to try basil sprouts.  There are oodles of choices when it comes to sprout varieties. Search online or check your local whole-foods market for sprouting seeds.
  2. Step two is rinsing and soaking.  Add a couple tablespoons of seeds to your jar and fill with a couple inches of water.  Follow your package instructions as it may vary from seed to seed variety.  For radish sprouts I only had to soak them for 4-6 hours ( you can soak them overnight).
  3. Next, cut a square of a few layers of cheese cloth.  This becomes the lid to your jar that allows you to drain and rinse your seeds as they are sprouting.  Screw the ring over the cheesecloth and drain the water out from your seed soak.  
  4. Cover your jar.  You don't want sunlight entering the scene just yet.  Let those cute little seeds work their magic in the dark by covering them with a dishtowel or cloth.  Wait . . . for a while at least before you move on to the next step.
  5. 2-3 times a day you will want to rinse your seeds/sprouts.  Keep the cheesecloth on and just run water through the cheese cloth - 1/2 cup or so is plenty.  Swish those babies around a bit, then pour out the water.  Yes, this is why you want that cheesecloth barrier.  After rinsing, cover the jar and wait some more.  Truly a couple times a day - morning and evening is sufficient for rinsing.  
  6. After a day or so, you'll start seeing some exciting action in that humble jar.  Just keep up the twice-a-day rinsing.
  7. About day 4 or 5 you'll notice that your sprouts have started shedding the seed coats and that there are little leaflets.  Yes, contain your excitement, you're almost done.  
  8. When your sprouts have mostly filled your jar, started to leaf out and shed their seed coats, dump them into a bowl and fill it with water.  The seed coats will float to the top and you can skim them off.  
  9. Drain the sprouts and put them in a plastic zip-top bag.  Place this somewhere sunny for a day as this will allow the sprouts to green up by finally getting some sun!  A day in a windowsill or normally sunny room is plenty of time for them to make all that yummy and nutritious chlorophyll.  
  10. Rinse them again.  I like to put a paper towel in the bag at this point just to keep them from going bad to quickly in my fridge.  Keep them in an airtight bag or container in your fridge.  They will last for at least a week if you make sure to rinse them once a day and replace that paper towel.  You'll probably want to not even put that jar away.  Instead you can start another sprouting batch to keep you in good sprout supply.  

  11. Final step - eat, devour, enjoy, savor, whatever term you like for gobbling up all that safe, sprouty goodness!

Thursday, May 14, 2015

The Totally Rad Radish

Here's your riddle for the day:
What . . .
  • is a good source of vitamin C 
  • provides folate, potassium, fiber, flavonoids, anthocyanins and other phytochemicals
  • detoxifies and helps the liver (reduces jaundice)
  • keeps your urinary track healthy
  • improves the health of your skin
  • relieves congestion
  • contains only 1 calorie each?

Answer: Radishes!


The name actually is derived from the latin word for "root" and the greek word for "quickly appearing".  And my those gorgeous little garden powerhouses are just that.


Nothing makes me smile  quite so much as seeing my radishes sprout in March and being able to harvest from my garden in April.

Sprouts, greens and roots are all edible and tasty!

All parts of the radish are edible and delicious.  Think outside the salad-topping-box when it comes to radishes.  They obviously deserve more than to be relegated to token garnishing.  What else can provide so much nutrition for so little calories?  From salads, sandwiches, soups and sides, bring on the radish-dishes!


Here's a few fun ways to prepare and enjoy this charming little root:

  • Grilled: with a few minutes in a marinade, toss them on the grill for a tasty side Grilled Radishes
  • Roasted: they're not just tasty raw, try this satisfying Roasted Radish recipe
  • Sauteed: butter, garlic salt and radishes - yum! Sauteed Radishes
  • Souped: try this Radish-Top Soup
  • Sandwiched: at tea-time or anytime, radishes can play the starring role in your next sandwich Radish Sandwich


With all your enjoying of the root and the greens, don't forget to start your own radish sprouts.  They are my all-time favorite sandwich topper.  (Sprout post to follow - stay tuned)

Monday, May 11, 2015

Organic: To Buy or Not to Buy - That is the Question

Good nutrition is a fairly simple matter and should be considered on a large-perspective basis - what I call "whole forest" view.  Often the small detail questions confuse and distract us from that big picture - just as focusing on a single tree prevents us from seeing the forest.  Whether or not to buy organic is one of those "tree" type nutrition questions.  The big-picture is that good nutrition is achievable whether you purchase organic or not.  The key is variety, and balance.  But still, it is a hot topic and some are agonizing in the supermarket over this question, so here's some illumination.  


Definition the term organic:
  •       For animal products: no antibiotis or growth hormones, organic feed no medications except vaccinations or to treat a specific illness. 
  •        For plants: only natural pesticides and fertilizers, (as opposed to synthetic).


Labeling:
  •        100% USDA certified organic products must be made with 100% organic ingredients and may display the USDA Organic Seal.
  •        Organic products must be made with at least 95% organic ingredients and may wear the USDA Organic Seal.

Is organic produce more nutritious?
Not necessarily.  The studies provide mixed results so there is currently no clear winner nutritionally.  Where your produce is grown is probably a better indicator of nutritional quality since nutrients in soil play a big role in how much of certain nutrients are in the produce. 

If I choose to buy organic, which produce should I buy?


Apples, peaches, celery, strawberries, spinach and white potatoes have higher levels of synthetic pesticides (things with edible peels). Don’t worry about buying organic bananas, mangoes, cabbage or kiwi when you peel off the outside layers. 

What about milk?

A very small percentage of milk producers use synthetic growth hormone on their cows.  Many grocery store chains no longer carry milk treated with synthetic hormones. 
Nutritionally, it’s not worth the price.
 
What about meat and eggs?

Source and handling are probably going to offer more protection since foodborne illness is a bigger risk in this food category.  If you want to choose grass-fed beef, it has a better nutrition profile – lower in saturated fat and higher in good fats, but the best option would be to buy local – such as purchasing a quarter beef from a local farmer. With eggs, the best option is to buy locally from a known source.

Take home:
  •         Balance your priorities with your budget available.  Eating more produce and a larger variety overall is more healthful and protective than buying less produce that is organic and more expensive.
  •        Ask your grocer when the produce deliveries are and time your shopping for maximum freshness and quality.
  •        Know where your meat comes from.
  •       Wash all produce well under running water.

Wednesday, May 6, 2015

Saborear: Flavor + Enjoyment = Happy Health

For being a blonde, fair-skinned Scandinavian, I have quite the soft spot in my heart for all things Hispanic.  Having spent a year and a half in Guatemala as a missionary for the LDS church, I fell in love with the  color, the music, the food, the dancing, and the beautiful people whose hearts are as big as all outdoors.  

Dejé la parte de mi corazón allí con mis queridos Chapinos.  So although Cinco de Mayo is mainly a USA holiday, I embrace the chance to crank up some Latin tunes, get those hips swinging and savor the experience of cooking up some latin-fare.  One of the most wonderful parts of their culture is the attitude that they have about food and family.  Mealtime means lots of preparation and love.  When you sit down to eat, you all enjoy the food which is traditionally made fresh from scratch and involves lots of produce.  It is interesting that regardless of the culture, following a traditional diet of any given culture turns out to be healthier than the average American diet.  So embrace your roots, or adopt a new culture and dig in. . . your waistline, your health and your mental state will thank you for it.  

Here's what I made for Cinco de Mayo this year:

Gazpacho for lunch (recipe below)
Milanesa with seasoned-veggie rice, fruit (including platanos manzanos) and salad made of corn, avocado and cherry tomatoes.  It's rare that I drink anything but water or milk with dinner, but I splurged and made limonada con fresas (strawberry lemonade)
Here's the quick gazpacho-to-die-for recipe:

Go-T0-Gazpacho


In a large bowl combine the following ingredients:
  • 4 cups low-sodium tomato or vegetable juice
  • 2 Tbsp. red wine vinegar
  • 1 Tbsp. olive oil
  • 1 tsp. sugar
  • 1 tsp. dried dill
  • 2 cloves garlic, minced
  • 2 dashes hot pepper sauce (optional but tasty)
  • 1 cup halved cherry tomatoes
  • 1 cup chopped cucumber (bite size diced)
  • 1/4 cup chopped red onion (since I can't eat raw onion, I use 1 tsp. onion powder)
  • 1/2 cup chopped red or yellow pepper
  • 3 oz. cream cheese diced
  • 1 avocado peeled and diced

Mix together and store in the fridge until ready to serve.  (Can be made the day before and stored overnight.) When serving, top with some fresh cilantro.

Here's your RDN-approved nutrition info:

Since you're eating basically large quantities of veggies you've got loads of fiber, not a ton of calories, and generous amounts of vitamins such as C, A, E (from the avocado) and loads more.   Plus it is all balanced out with some good fats.  The most important thing is that it's super-delicious, healthful and satisfying.  So go ahead and saborearlo!


Friday, May 1, 2015

Salads: Going From Side to Center Stage


What’s the number one food lacking in the average American’s diet?  Veggies!
One simple and delicious way to change that is by adding salad to your menu 3-5 times per week.  But lest you fear that you’ll tire of the same old bag of salad every time, here are 4 tips to turn your so-so salad into spectacular.

Vary the texture:


  •        Crisp:  fresh greens and vegetables such as carrots, cucumbers, apples, onions and peppers provide a refreshing crisp texture. 
  •        Creamy:  hearts of palm, avocados, cheeses such as fresh mozzarella, cottage cheese or blue cheese add a nice contrast to the crisp texture.  Avocados are my favorite creamy salad addition and not only do they provide good fats, but about 20 vitamins and minerals in a 50 calorie, 1/5 wedge of avocado.  Look for California avocados to be in season now through September, and don't forget to "nick and peel" instead of scooping it out so that you get all the wonderful nutrition hiding just below the peel in that dark green layer.
  •      Crunchy:  nuts, seeds, croutons, can all provide that hard crunchy variation to a salad. (My favorites are pepitas and fried garlic)
  •        Burst-texture (somewhat soft but not creamy): Peas, tomatoes, olives, grapes, pomegranate seeds


Vary the flavors:


  •        If your salad is mainly bitter greens, then balance it out with a milder creamy element such as tofu or cheese and then round it out with a little mango or sliced strawberry.
  •       The variety of flavors should arise mainly from the ingredients of the salad, not the dressing.  Keep the dressing light so that you can enjoy the fresh flavors of the fruits and veggies. 
  •        Don’t be a one-trick pony when it comes to flavoring your salad.  Ranch is ok once in a while, but mix it up.  Don’t stick with just one flavor (for example, a green salad with sliced red onion, scallions and an onion-based vinaigrette is too much of a good thing).  Try onions on a salad with orange vinaigrette, or try an onion dressing on a salad made up of greens, black beans and corn. 

Vary the nutrients:


  •        A combination of vegetables & fruits with some protein and a heart healthy fat make for not only a delicious but satisfying salad. 
  •        Adding tuna, diced chicken, hard-boiled egg, beans or low-fat cheese ups the nutritional factor and turns a side-salad into a main course.
  •        Avocados, nuts and heart-healthy oil dressings such as olive or sesame round out the nutrition of a healthy salad.


Vary the presentation:


  •        Edible bowl – try serving your salad in a radicchio or butter lettuce leaf
  •        Stack it up – layer sliced veggies and drizzle with a light dressing
  •       Grab a goblet – serve salad in a cocktail glass or sundae dish. 


Keeping salad fresh, varied and exciting will motivate you to keep it in your menu and your health will thank you for it.  
For more avocado information and recipes: http://www.californiaavocado.com